Important Notes on Blog Styling
Spacing
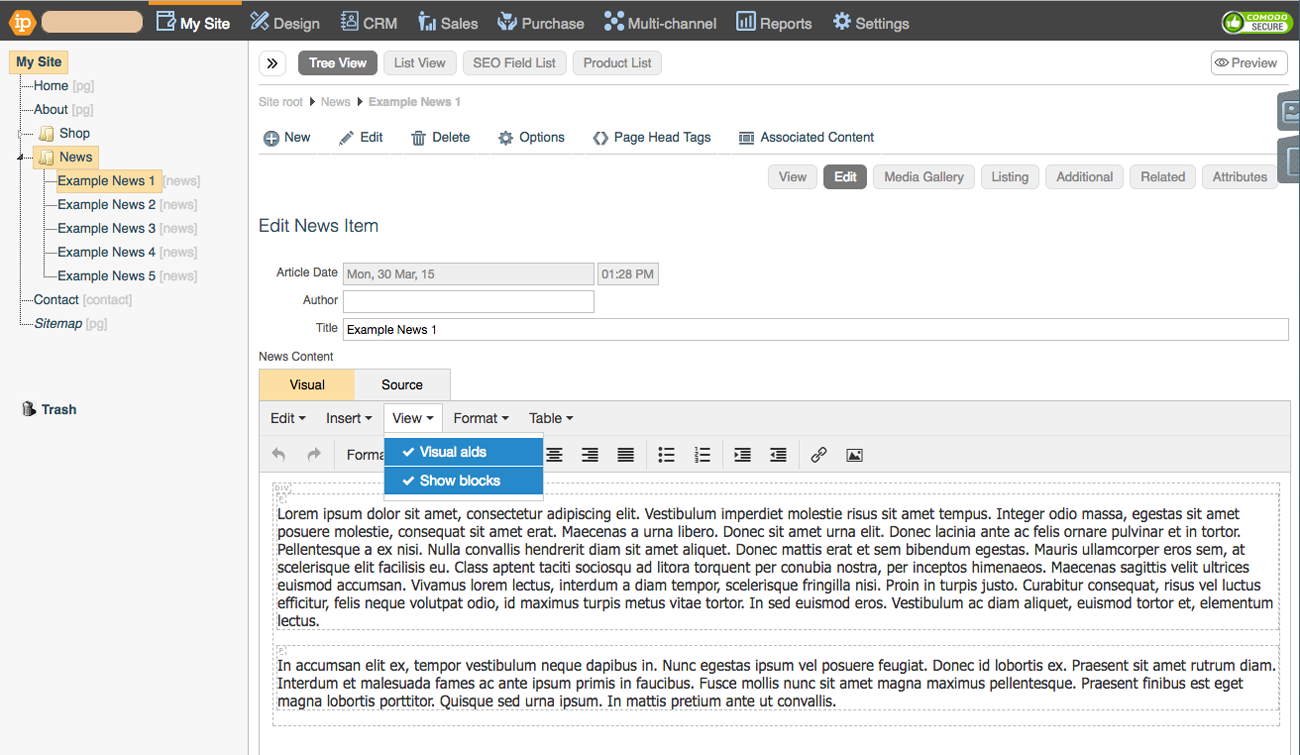
When writing your blog posts, it can be helpful to use the View > Show blocks in the WYSIWYG editor.
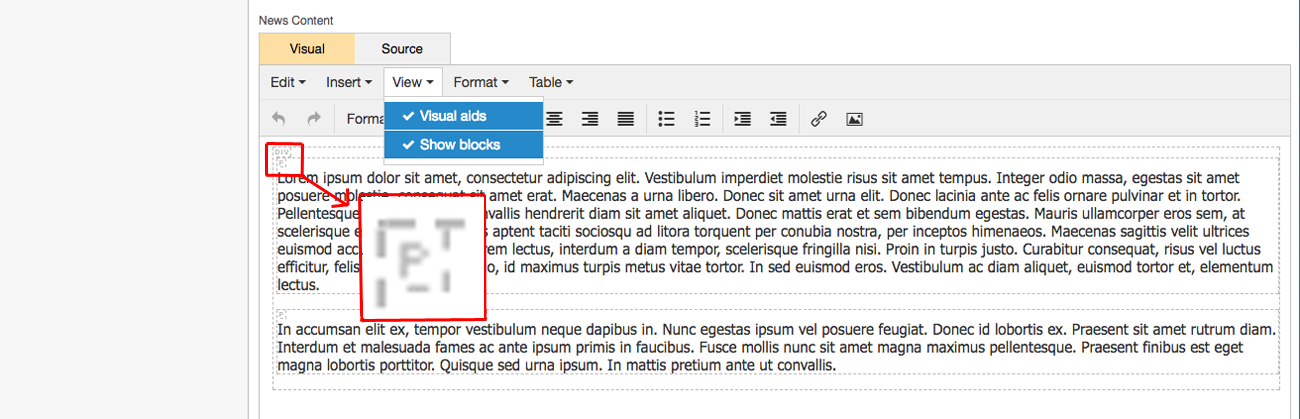
One of the problems that can happen when using the WYSIWYG editor, is that empty paragraphs can easily be accidentally added by pressing the return key twice. Perhaps you have done this on purpose to make some more space before your heading. However, if you format the heading correctly, which is explained below, space is automatically styled in your website.
Below you can see an empty paragraph which shows up as an empty block with the letter 'P' in the top left. Simply delete this by placing your cursor inside the block and pressing the backspace key. You will see the whole block disappear leaving you with only blocks full of text.
Headings
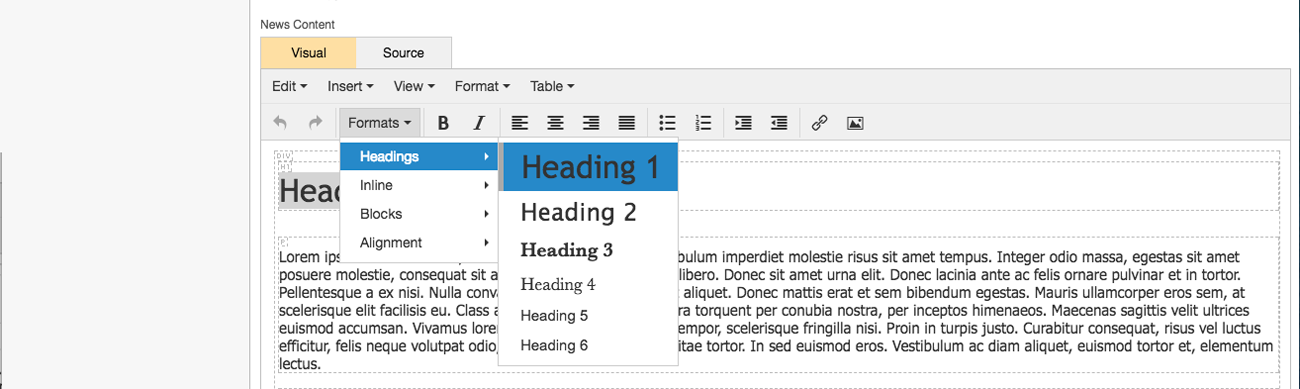
Headings should always be formatted to be a Heading 1, Heading 2, Heading 3, Heading 4, Heading 5, or Heading 6. (These will have been set up for you during the design process). This is not only better visually but search engines also prefer a properly formatted structure to your pages. In the example below, you can see that the 'Heading Here' is also in a block with a 'P' in the top left.
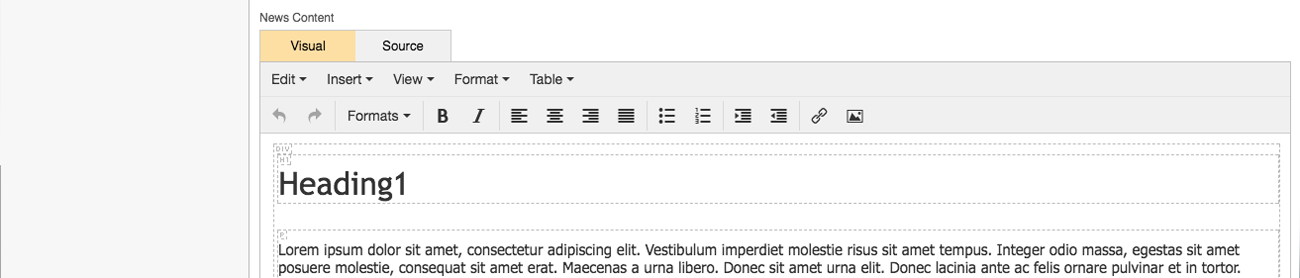
The 'P' is showing that the block is a paragraph block and the text has simply been highlighted and made to be bold. Rather than making the text bold, we would recommend that in blogs you use 'Heading 3' for your crossheads. Simply highlight the text and go to Formats > Headings > Heading 3. You can then see that you get an H3 in the top left corner of your block instead.
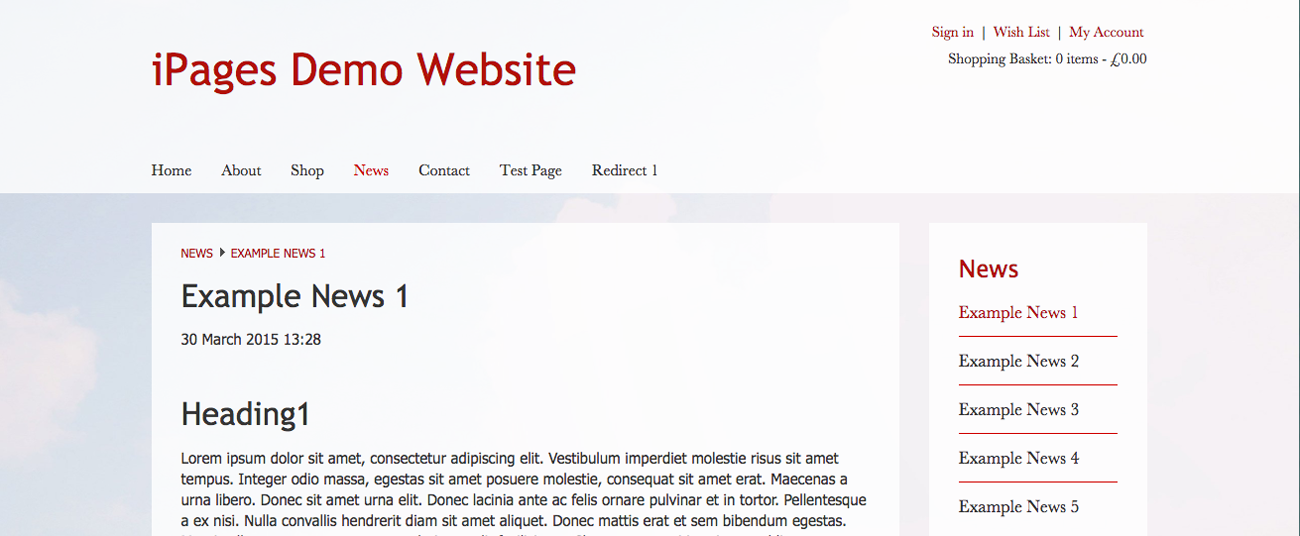
It's worth noting that the WYSIWYG editor doesn't always show you exactly how it will look on the front of your website. In our own blog, the Heading 3 shown above in the WYSIWYG editor actually displays as below on our actual website. You can see that our Heading 3s are styled to have a rule above and extra space above. Your website will have the Heading 3 formatted to be consistent with your brand styling.
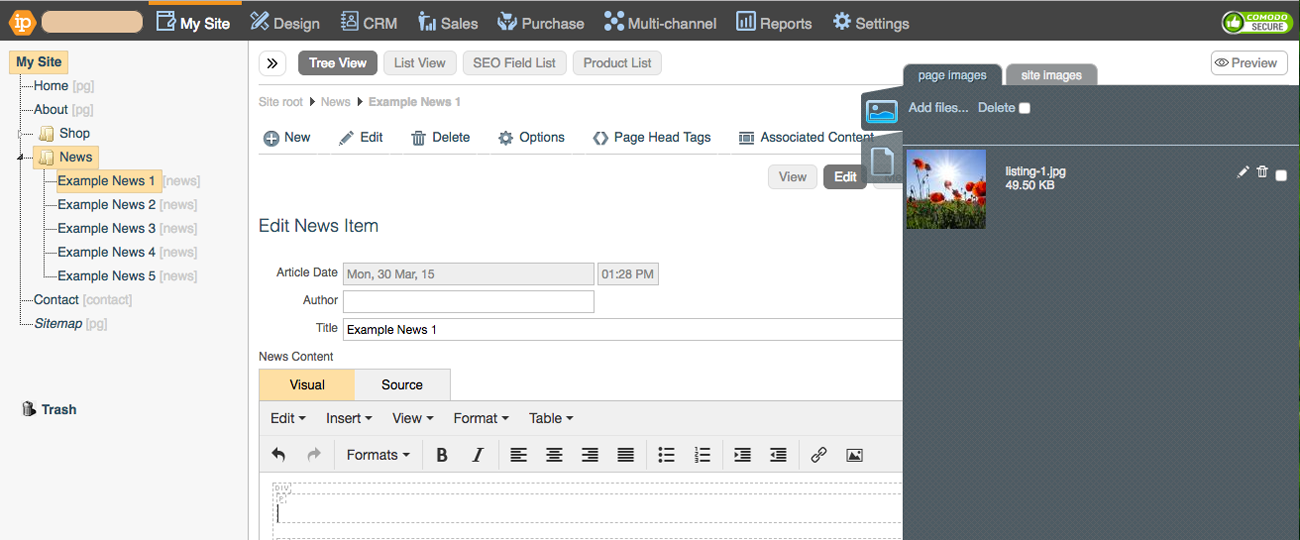
Images
To bring images into a blog post, go to View > Show blocks and click in the paragraph block where you'd like your image to come in and then press return to create a new paragraph block.
Then open your image uploader area by clicking on the image tab on the right-hand edge of your screen and upload your image you'd like to use.
Click in the empty paragraph you've created and then click on the image in the upload tab and it should appear in your blog post.