

Setting up Mailing Lists
On this page:
What is a mailing list?
A mailing list is a group of email addresses that are used to send targeted messages to a specific audience. Mailing lists can be used for a variety of purposes, such as sending newsletters, promotional offers, or other types of marketing communications.
It is important to follow best practices and to comply with GDPR when using mailing lists, including obtaining permission from individuals before adding them to the list and by providing an easy way for them to opt out of receiving further emails. The KhooSeller KhooCampaigner email marketing software helps to makes this easy for you and provides detailed analytics on your list once you've sent your first campaign.
Setting up your mailing list via CSV
1. Go to eCampaign > Mailing List.

2. Click New Mailing List

3. When the dialogue appears, Give your mailing list a title and description.
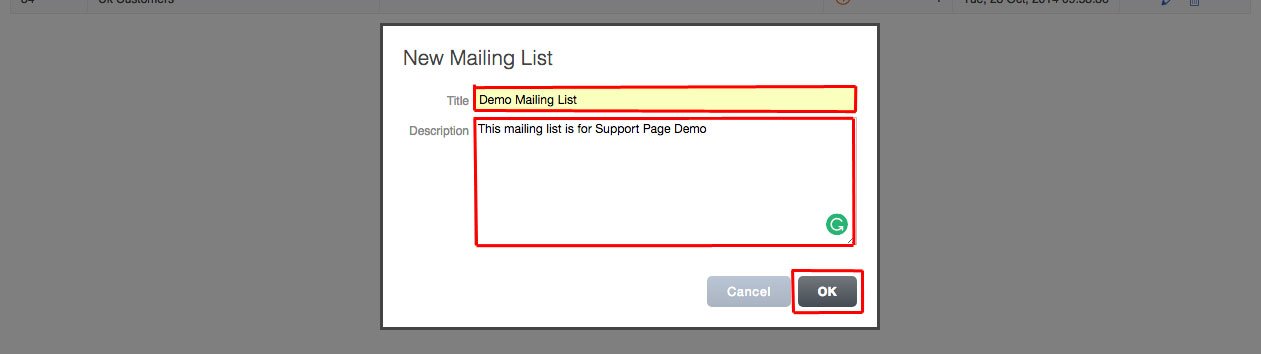
4. Click OK.
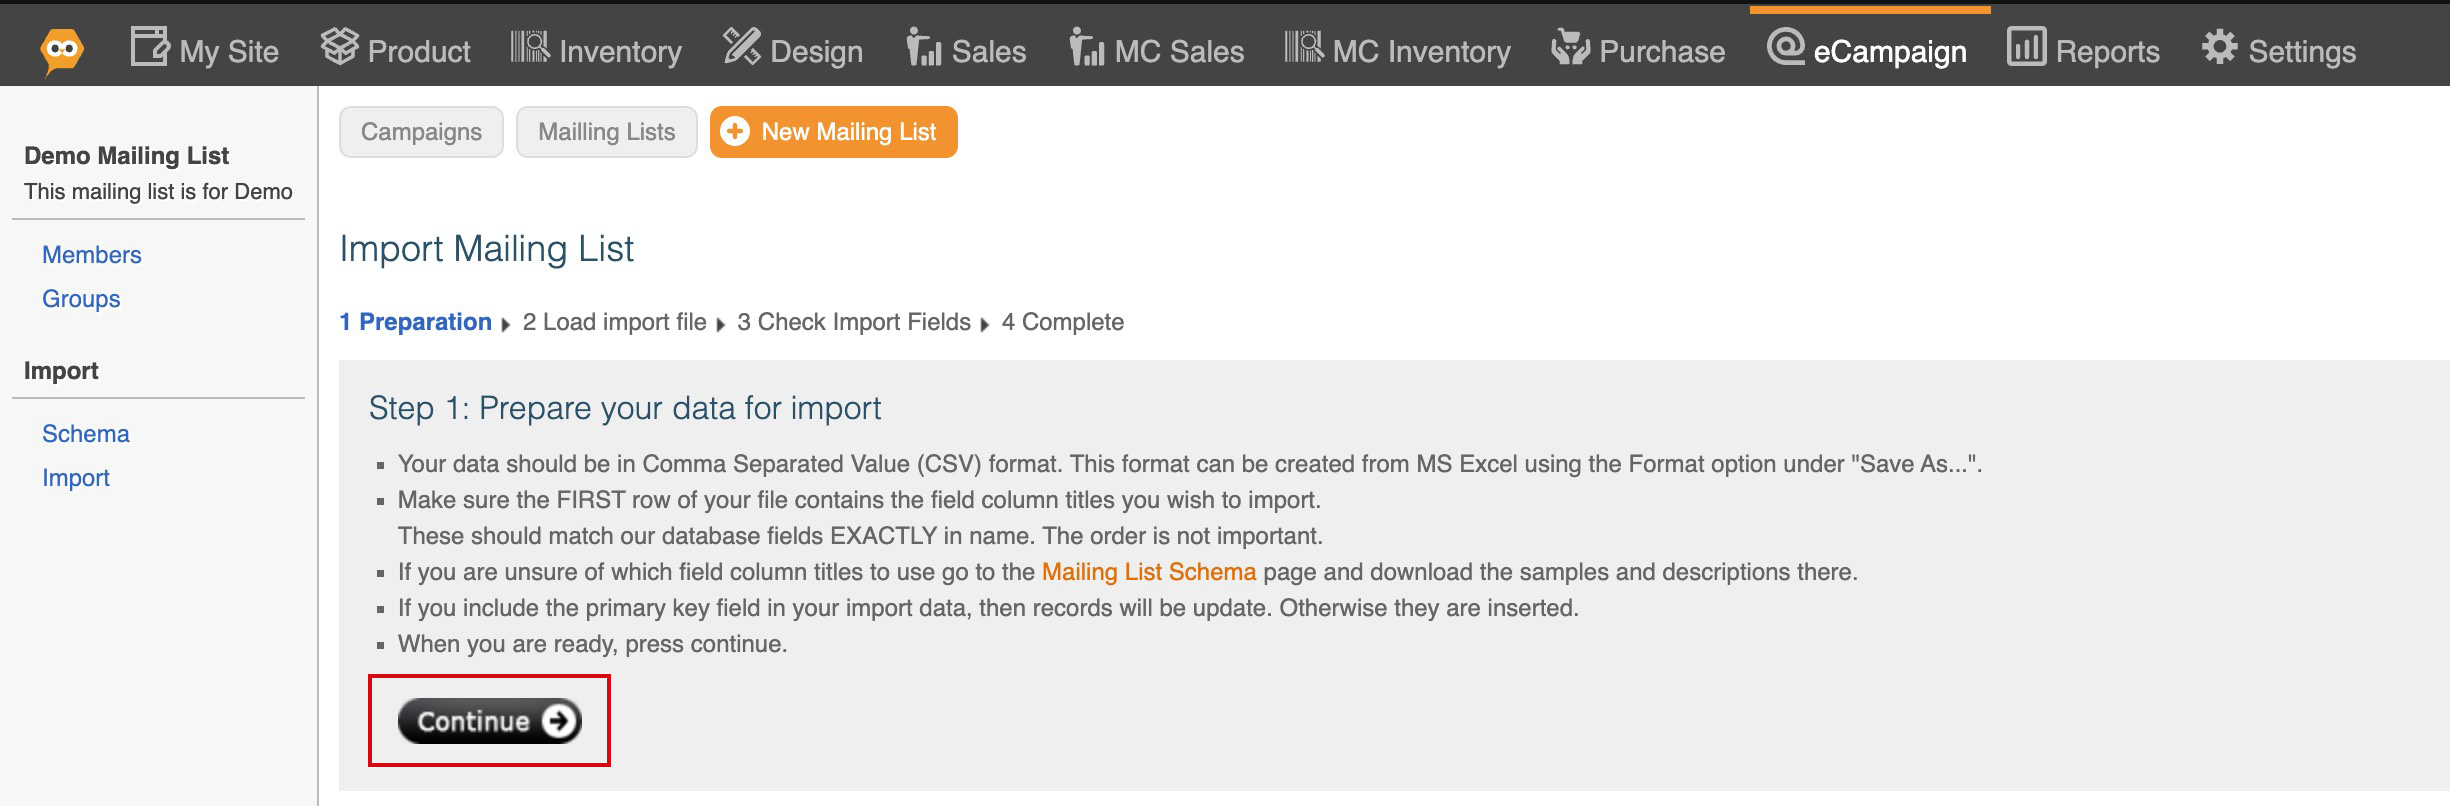
5. Click Import on the left navigation.

6. You'll need to read and accept our terms of email campaigns.

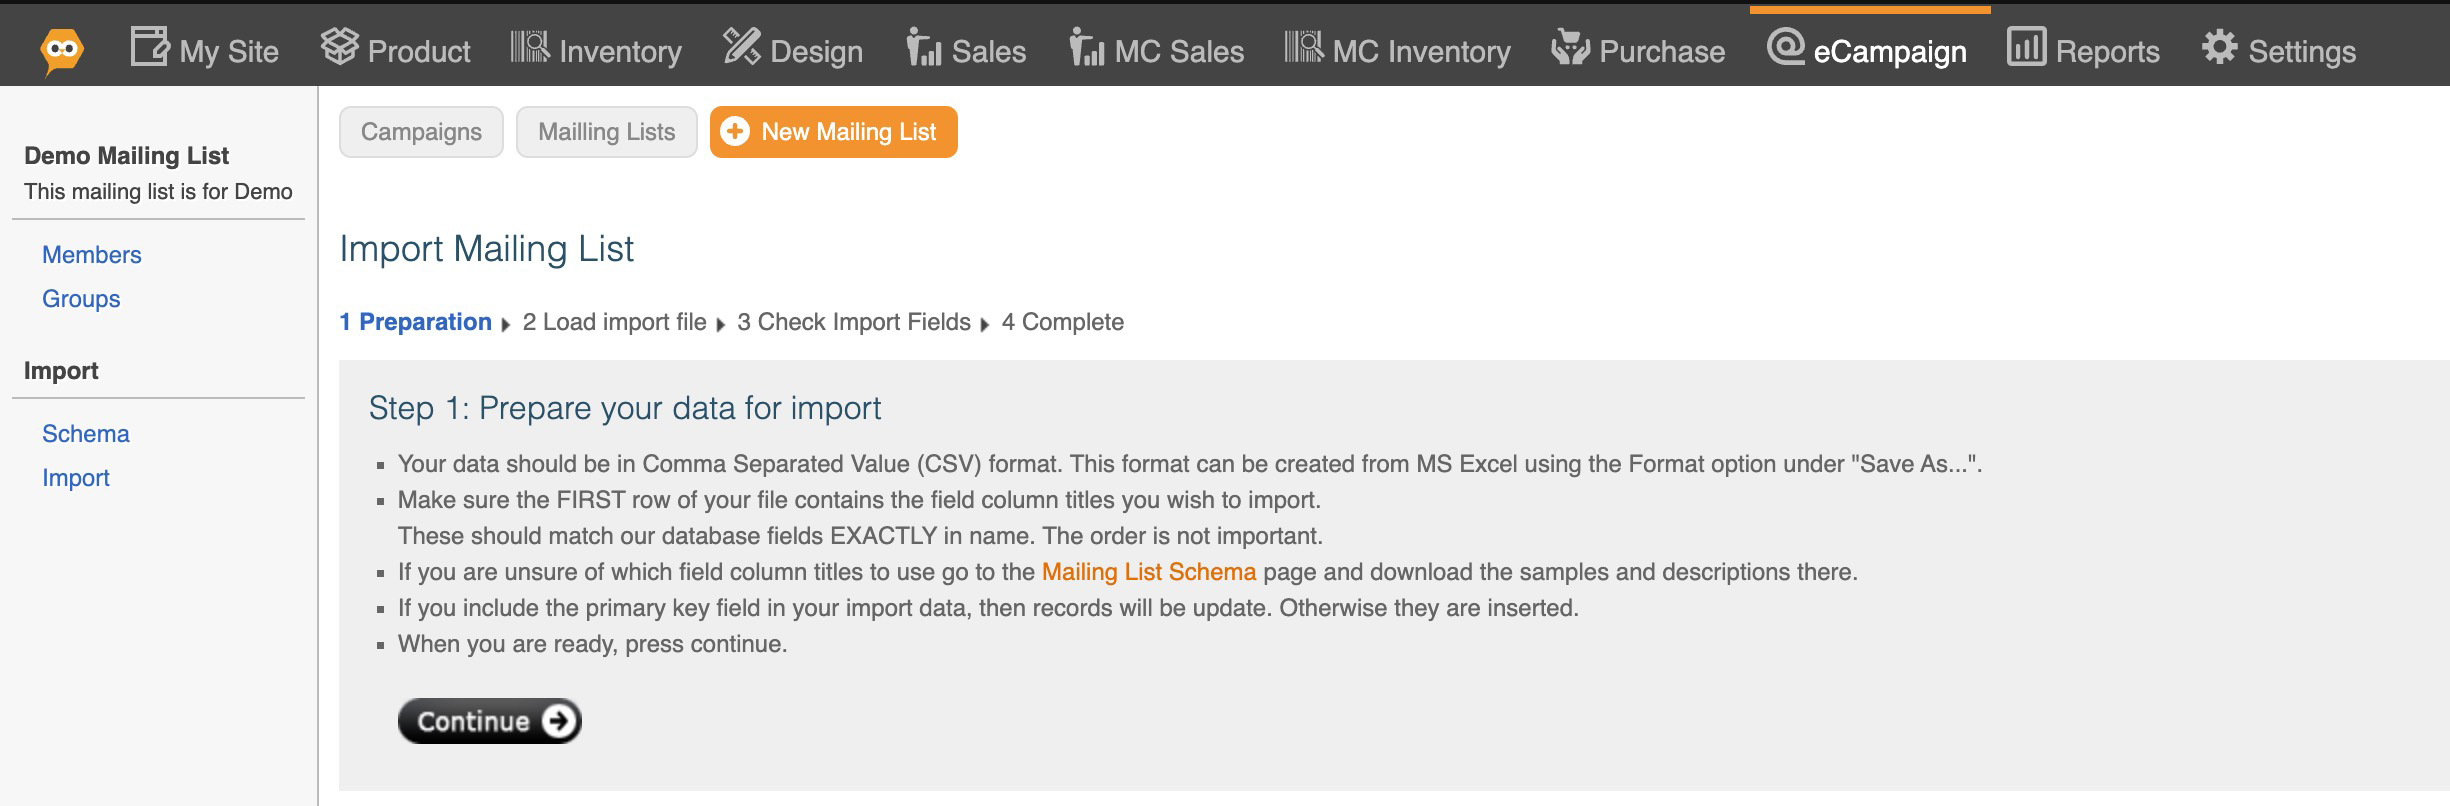
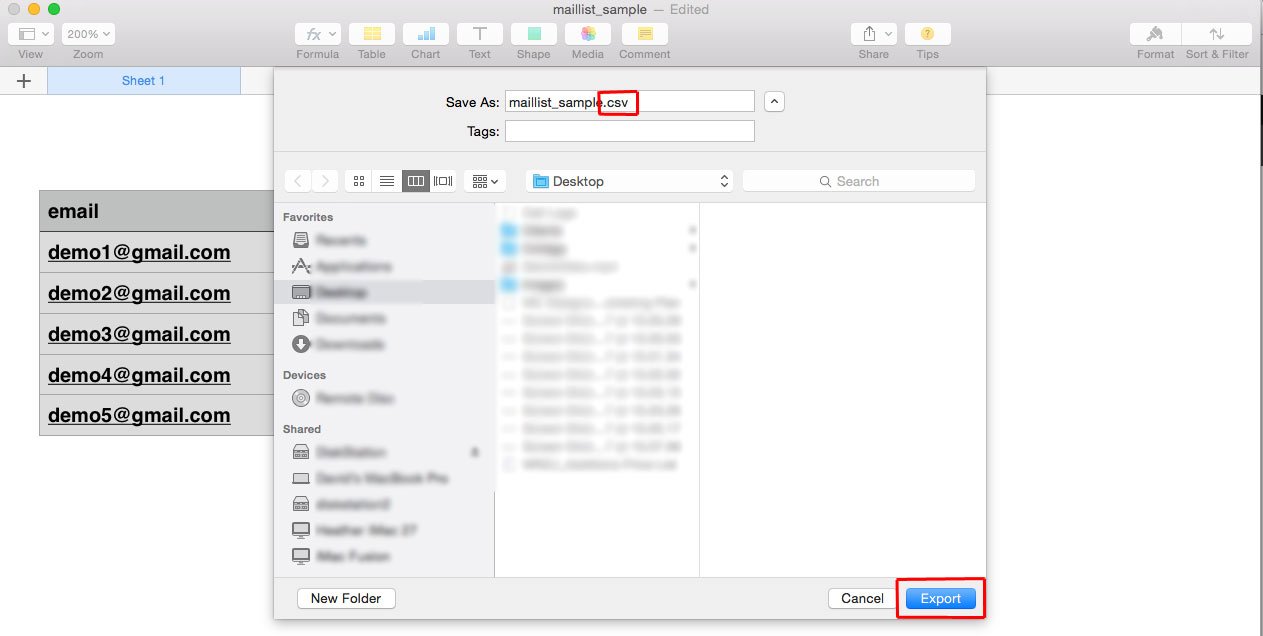
7. Prepare your data for import. To make sure that it's formatted correctly, download our template here.
This is how the template looks when you first open it.
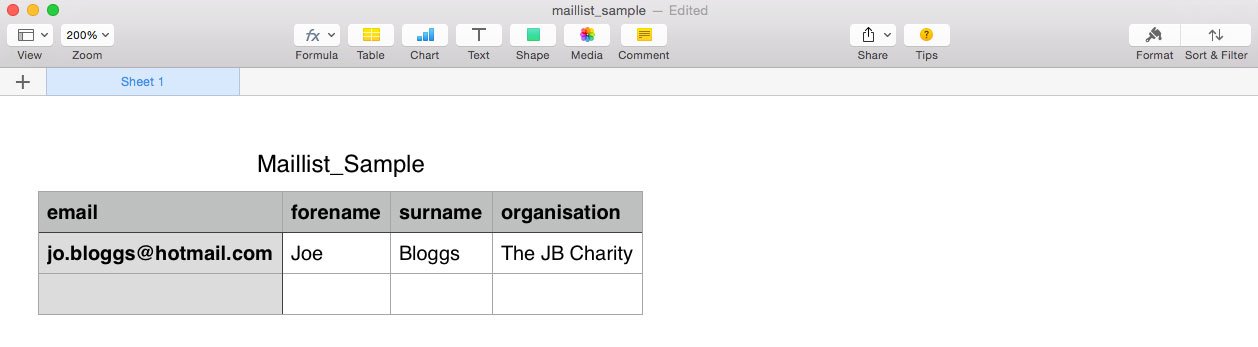
The template will show the 4 columns which are accepted by the KhooSeller import: email, forename, surname & organisation.
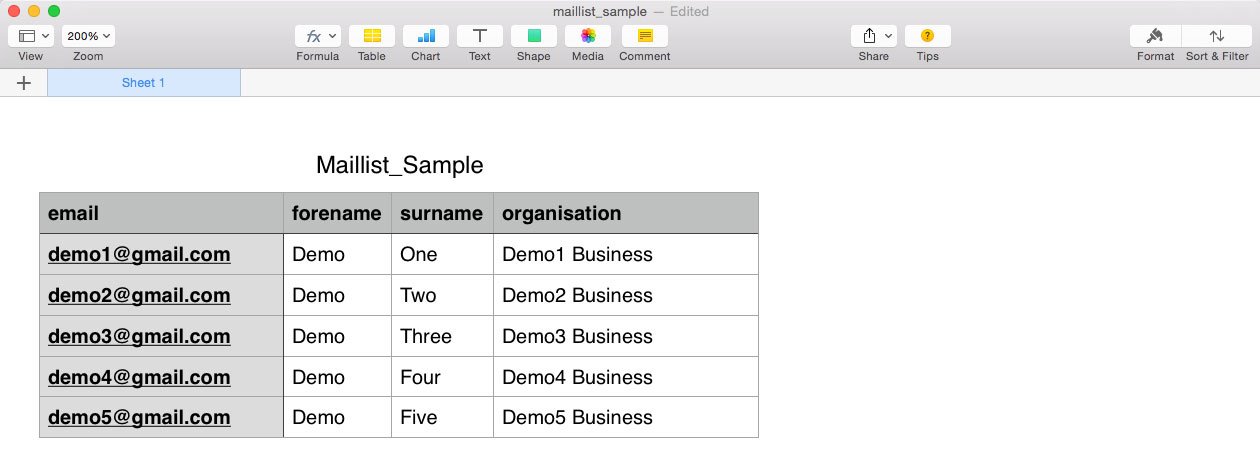
Add your mailing list contacts to the template and save it with a new name. Make sure that you're saving it as a .CSV file.
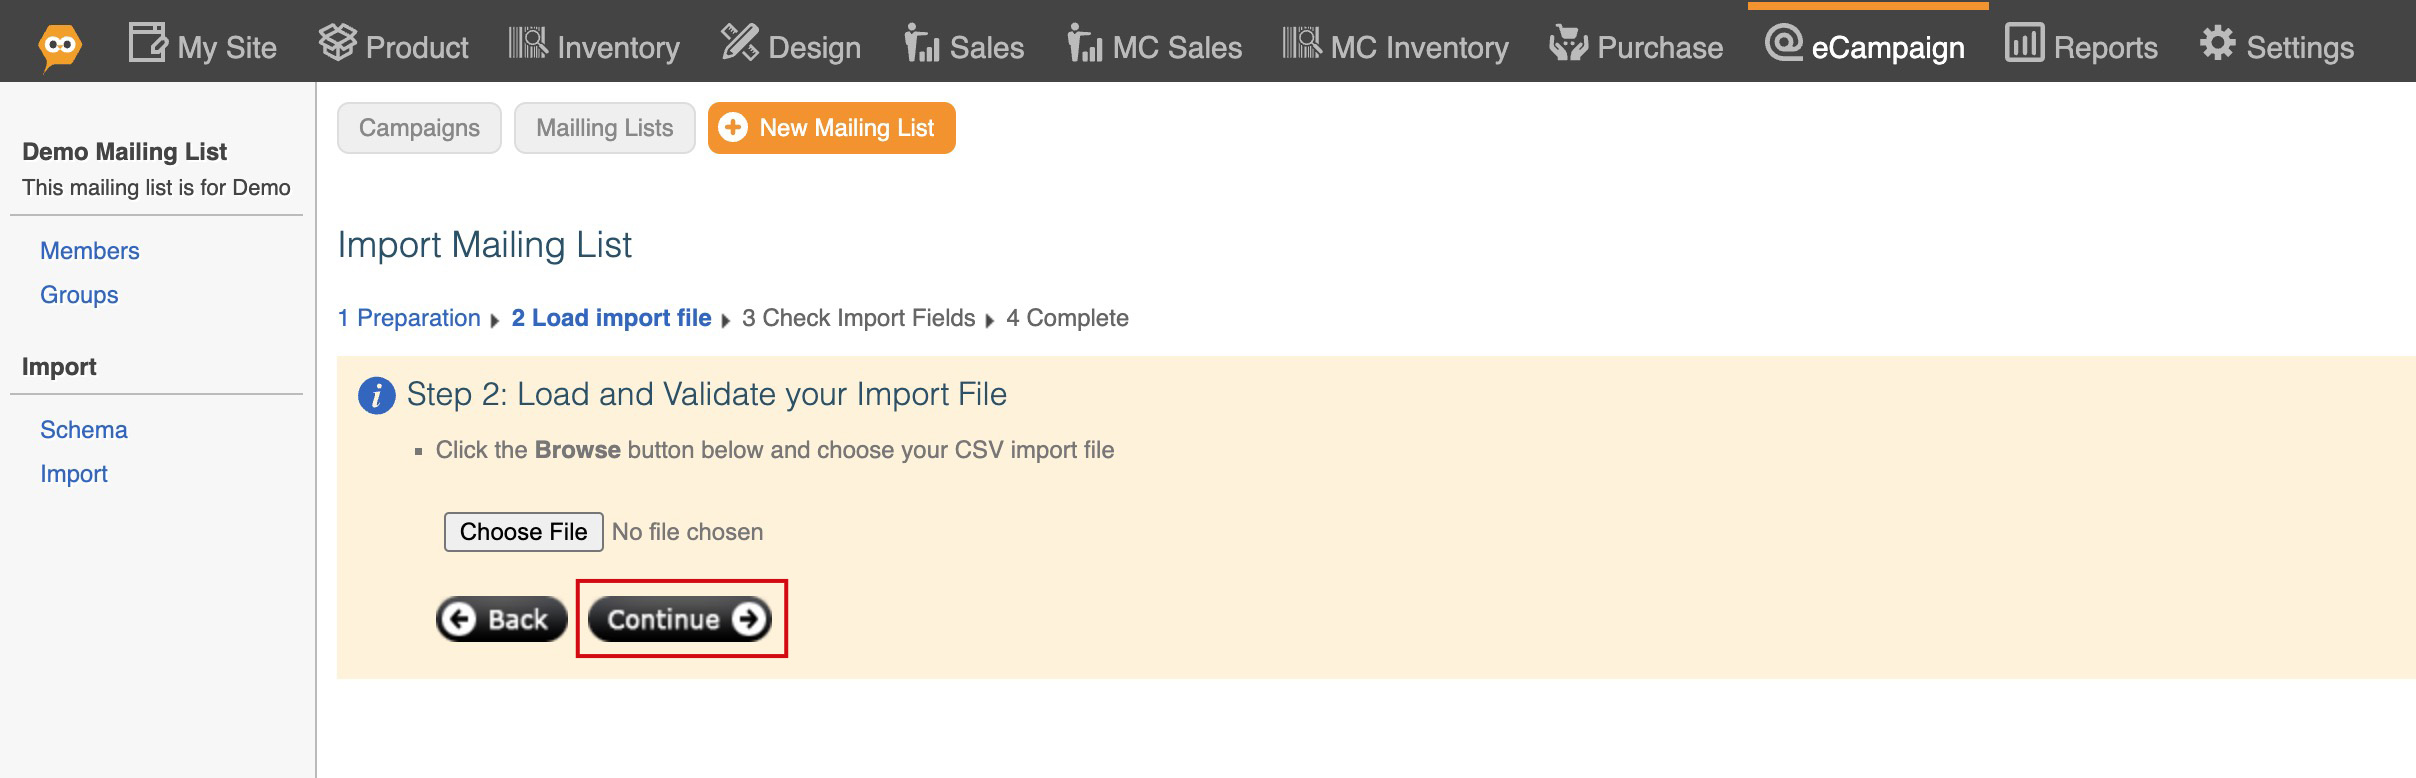
8. Click Continue.
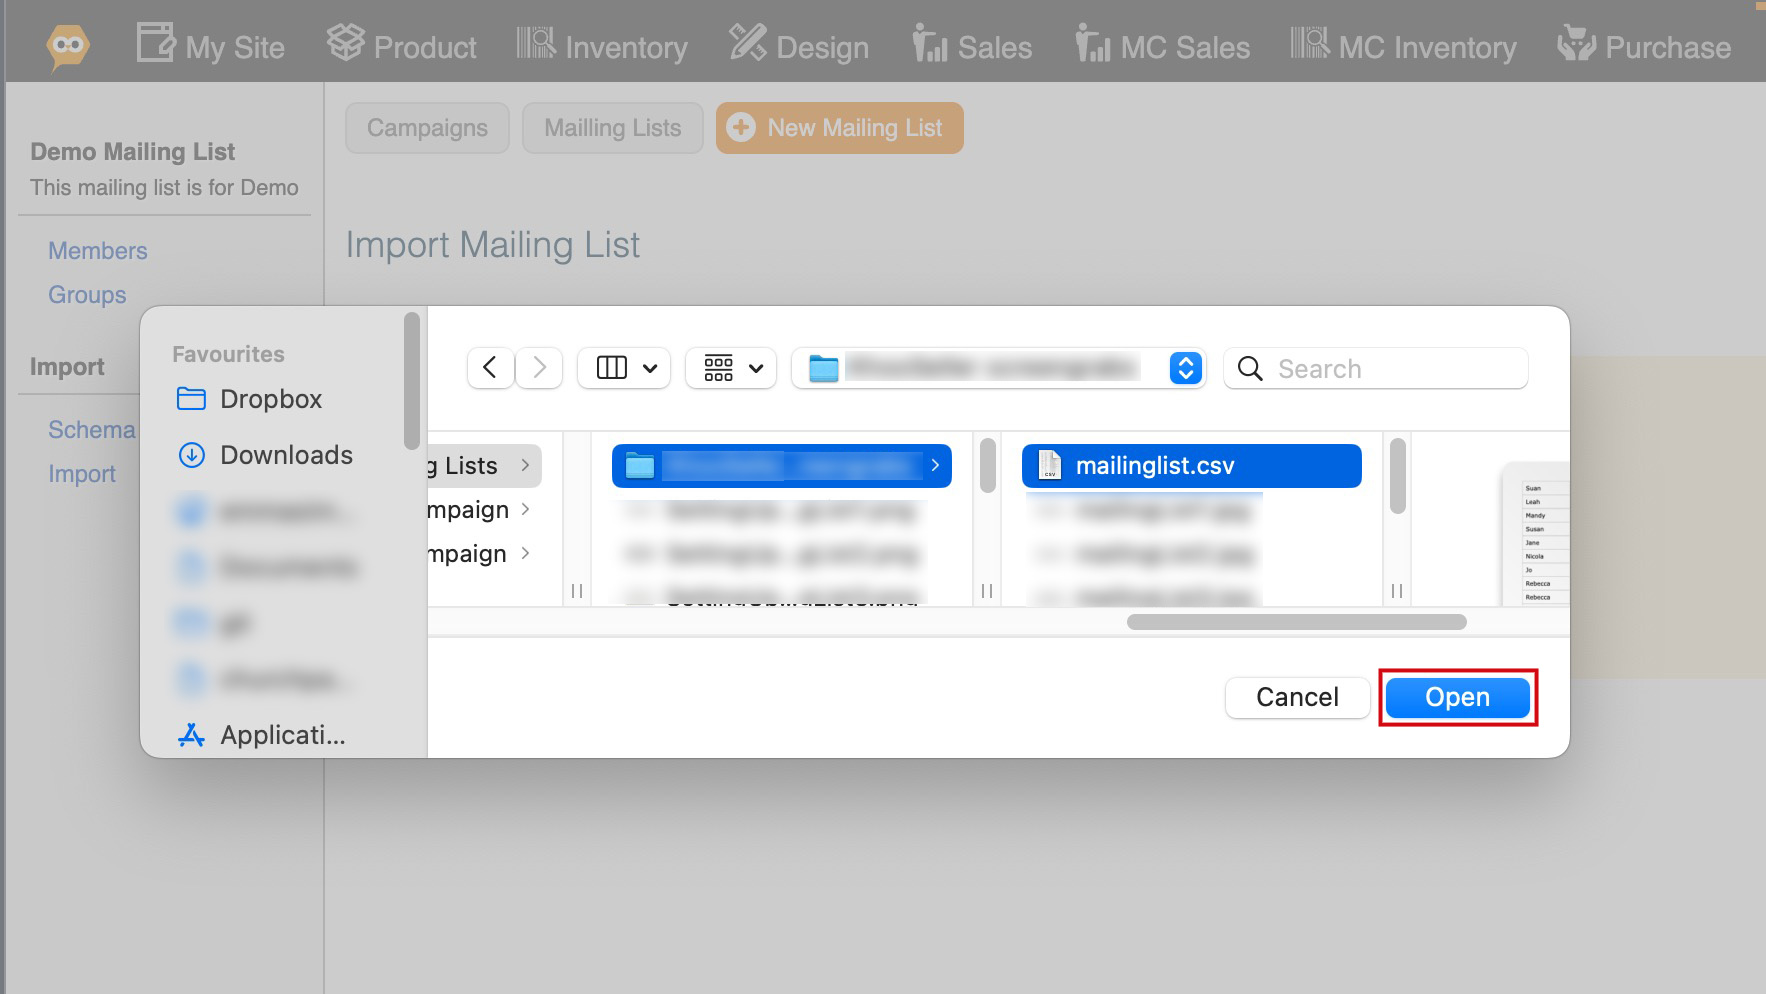
9. Upload your .csv by clicking Choose File, finding it on your computer and clicking Open.
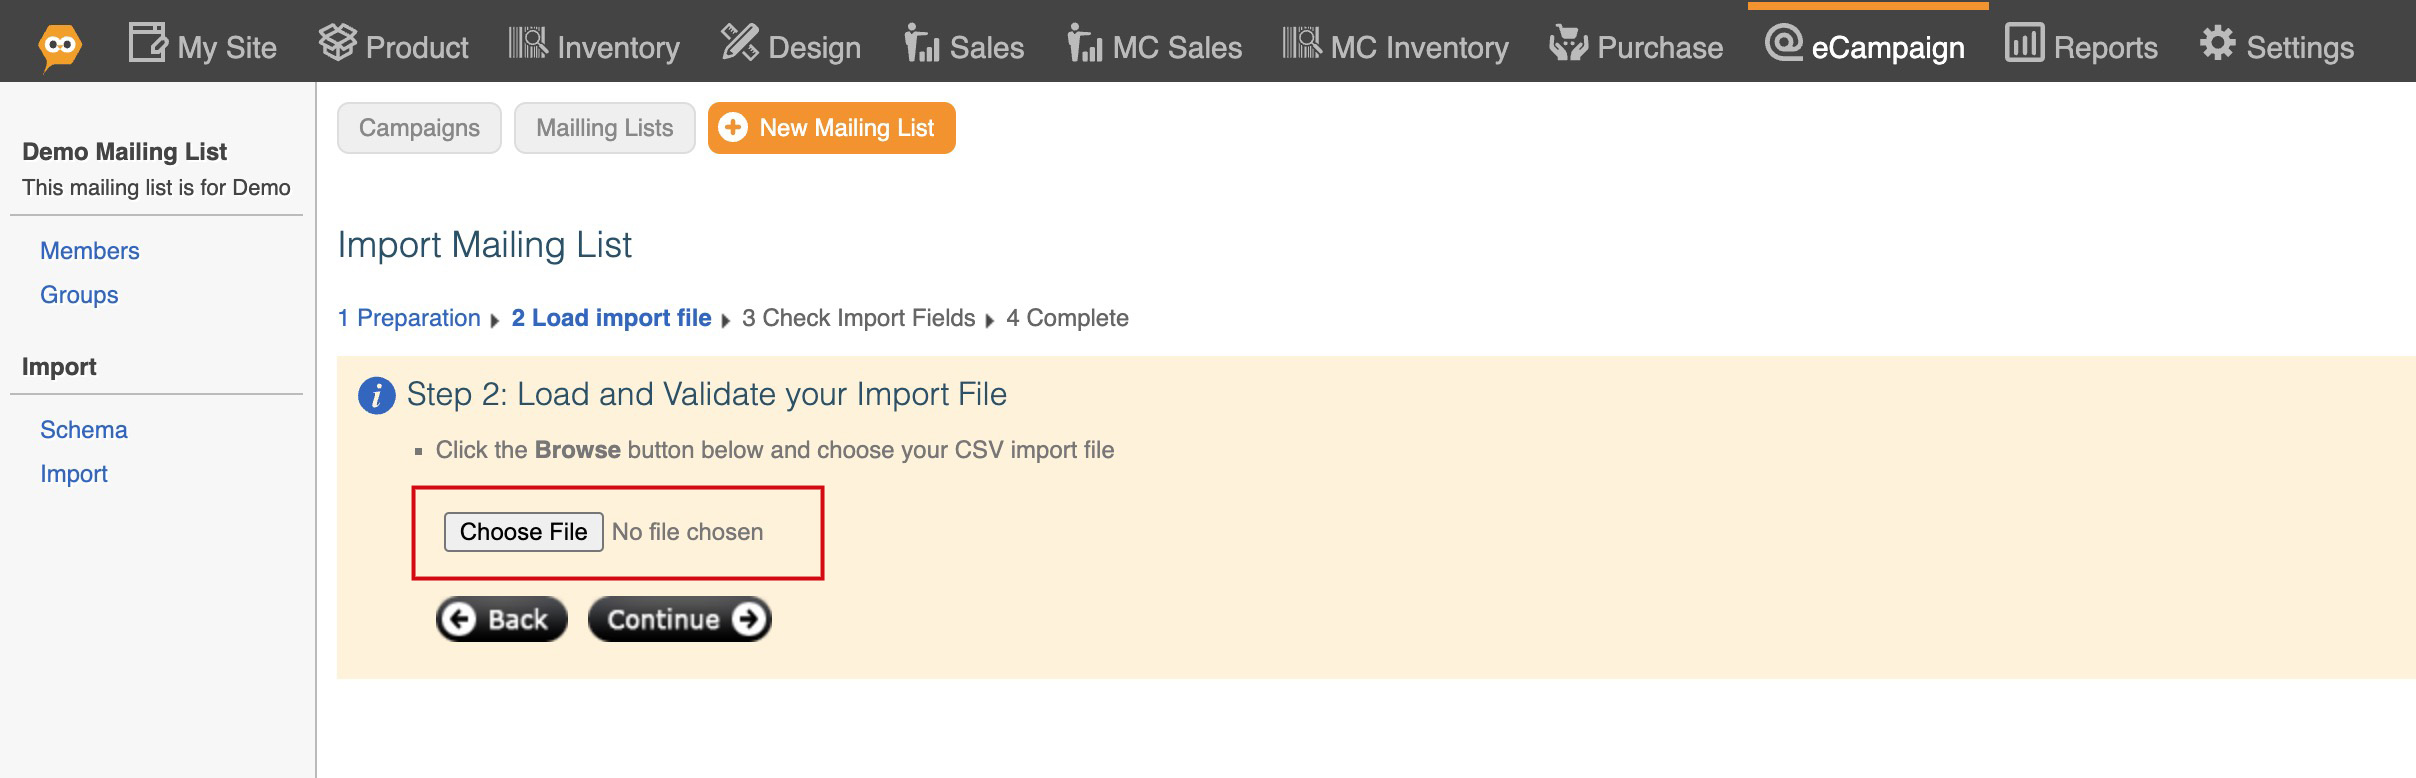
10. Click Continue.
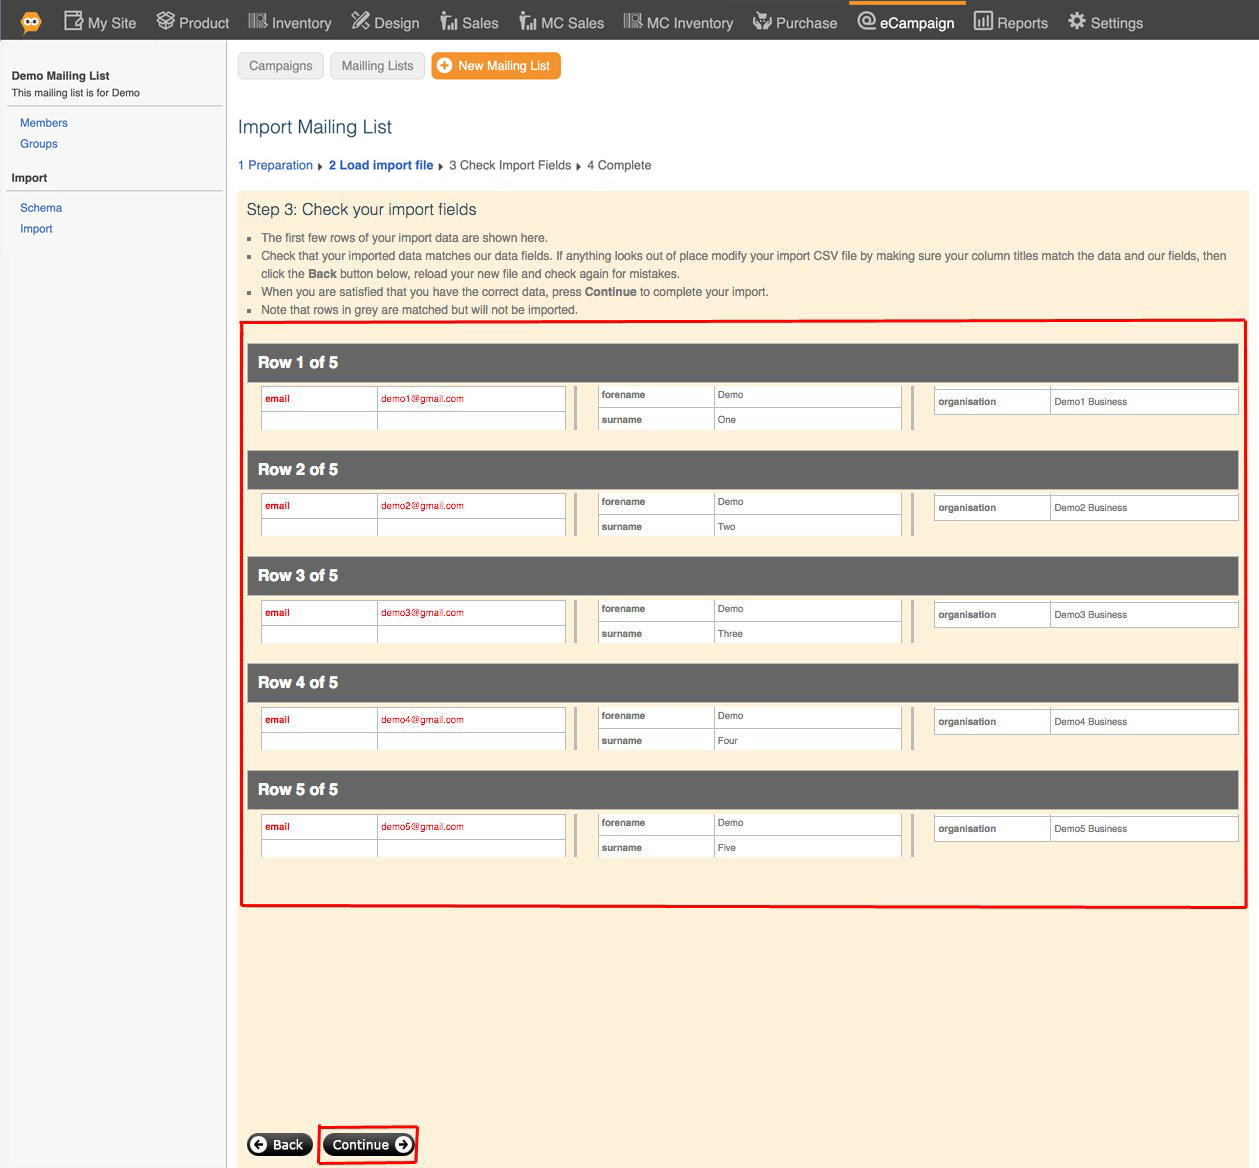
11. You'll be shown a preview which you must check. When you're happy everything's fine, click Continue.
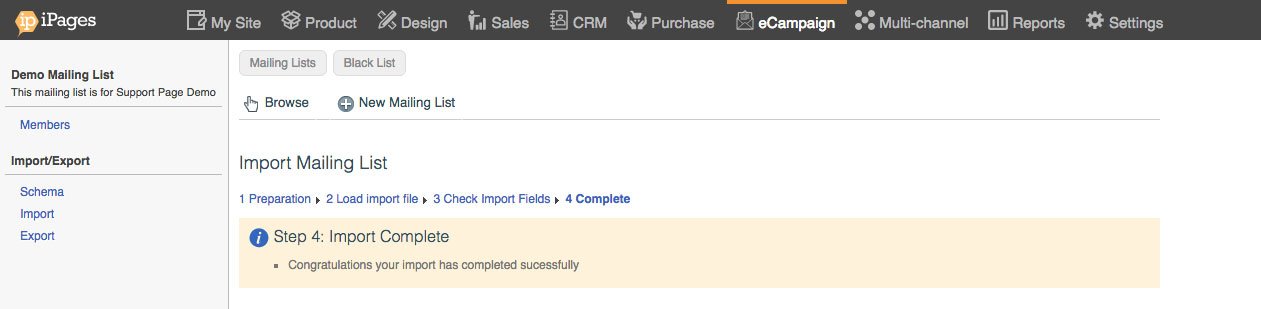
12. You will then see the following completion screen.
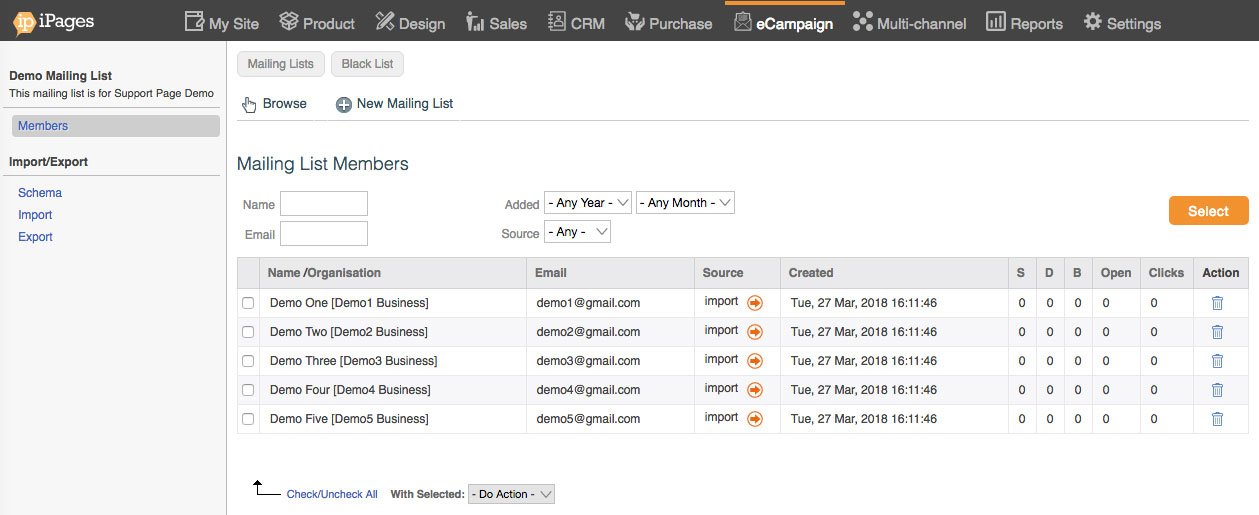
Click Members on the left-hand navigation. You will be able to see your imported contacts have been placed on the list.

Setting up your mailing list via CRM
Go to CRM > Contacts.

Click Check/Uncheck All using the drop-down at the bottom of the Contacts list or click the checkbox for the specific contacts.

Select 'Add to eCampaign mailing list' from the Dropdown list labelled ‘With Selected’.

Choose the appropriate mailing list from the Existing Mail List Dropdown.
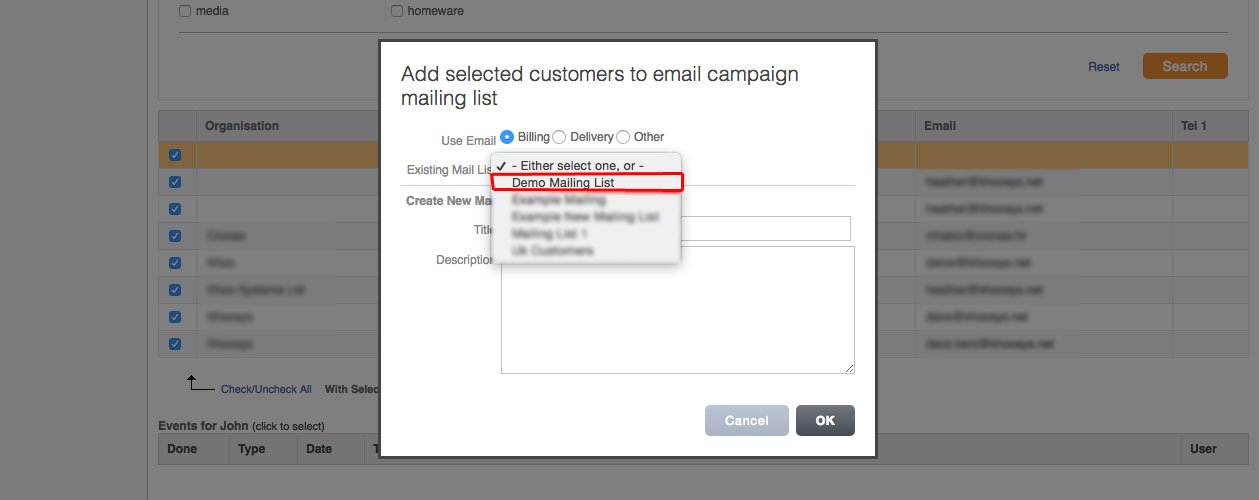
Click OK.
Or add them to a new mailing list by adding a new Title and Description.
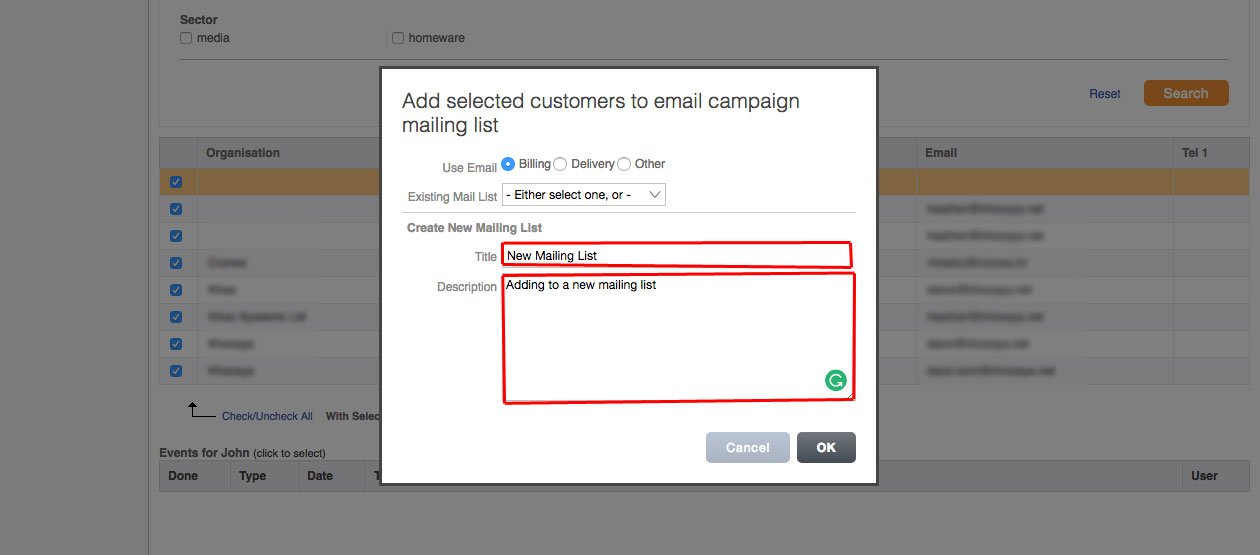
Click OK.